This box is made out of Cranberry cardstock for the 2 basic pieces.
1 - 9 x 12 for the top of the box
1 - 8 7/8 x 11 7/8 for the bottom of the box
This way they fit into each other better.
It is scored on both pieces the same way.
Along the 9" side it is scored at 1 and 3 then on my portable score board from Close To My Heart, I turn it all the way around and score from the other side at 1 and 3.
Draw a box in the center of the Top, leaving 1/2" on all sides of the center. Cut out with paper trimmer or scissors.
Fold Bottom of the box on all score lines. Use a strong adhesive and start with the ends of the box. Then glue the sides down inside the box. Adhere the ends of the Top of the box but don't fold down the flaps on the ends or the sides! You can now insert the bottom of the box into the top. See the flaps, I have adhesive on them and they will go down onto the bottom of the box. This is flap that wraps around the box. It is 5 3/4 x 7 1/2". It is scored along the 7 1/2 side at 7/8, 3, and 6 1/8". If you would like to add a decorative edge it goes on the bottom on the side that is scored a 6 1/8".
After edging you can adhere the 7/8" portion to the bottom of the box centering it left to right.
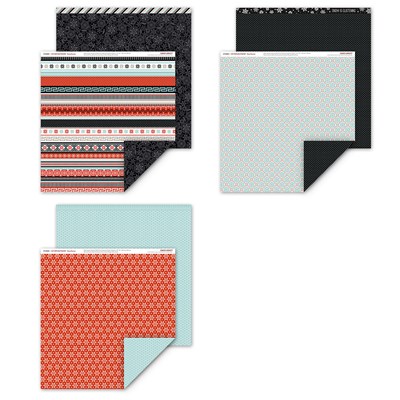
Decorate as you like. I used Black cardstock 1/4" smaller than the White cardstock, then Snowden B&T paper

again 1/4" smaller than the Black cardstock. To secure the front I used a small Velcro Dot.
I cut out a White and Black Snowflake for the front using Art Philosophy Cartridge and used YUM and Thinking Of You from the 30 Years of Happy Stamp set. Remember this stamp set can be yours for Free in the month of September with a $30 order.
For a little more fun I added some paper bottoms to some of the kisses in the box, the 30 years of Happy stamps were the perfect size.


No comments:
Post a Comment